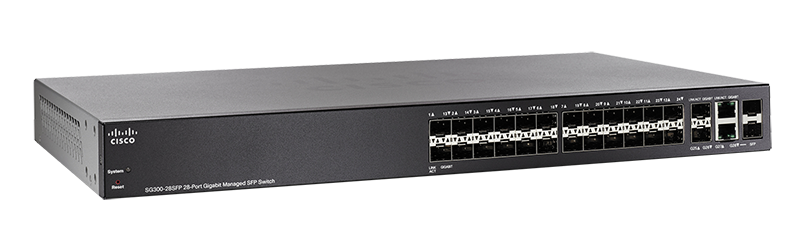
Cisco continues to put out new SG switch firmware which adds some nice features and more stability to the product line. Several companies I have worked in the small / medium business sector are turning to these switches for their inexpensive port density and management options in an access layer switch. Since these units are available from all kinds of retailers online (and are so cheap it makes no real sense to put SmartNet contracts on them) you may find that even if you buy them at the same time, they can come with different versions of firmware installed. Working on a fleet of gear all operating on the same version of code helps streamline support and troubleshooting.
A straight-forward guide to updating a SG300 or SG500 switch wasn’t easily found online, so here’s my guide including some of the tips I discovered along the way. There are some slight differences in the upgrade process between the two switch lines (SG300 and SG500) but the overall procedure is the same.
Some assumptions before we start:
- Have a TFTP server configured on the same network as your switch so you can copy the bootloader and firmware images onto the switch.
- Writing a new firmware to a SG switch can wipe the configuration, so you will want to make a backup first or just be prepared to set it up from scratch again once the upgrade(s) are complete. Testing from different levels of 1.4.x code did not erase the startup configuration. Do remote upgrades with caution!
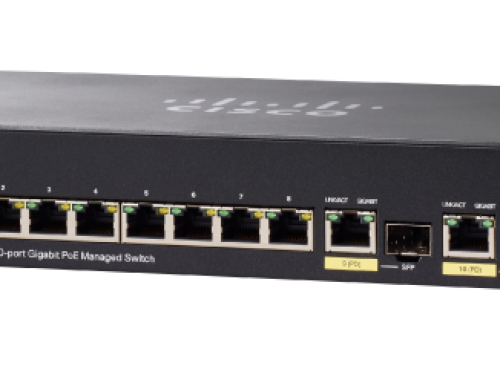
- We will use a SG300-10 for this guide, but the process is similar for all SG300 and SG500 systems.
Please read this entire guide before getting started. There are some notes about upgrading from older versions of code prior to 1.3.5.x at the bottom of this article.
Step 1: Check your current firmware and bootloader versions.
For this example we are going to upgrade to 1.4.8.06. The current version loaded on the switch is at 1.4.2.4, you can check this using the show version command.
Step 2: Backup the existing configuration so that after the switch is upgraded all we need to do is setup management access and we can copy it back on again.
Step 3: Download the images from cisco.com (or another switch) and make them available via TFTP server. Copy the new image into flash on the switch and then set it as the active firmware image. Note that the firmware image file ends in .ros and the bootloader is .rfb. Be sure to use the image keyword at end to indicate that this is a firmware image and not the bootloader.
A quick check shows the switch now has two images in flash.
Step 4: Set the newly uploaded image as active.
Step 5: Reboot the switch using the reload command and be sure to save changes before doing so.
Step 6: Wait for the switch to reboot, then verify that the new image is being used.
That’s pretty much it! Check and see if all your configuration options are still present. If you can still get to your management VLAN interface you’re probably in good shape, enjoy your upgraded switch.
If you are running a 1.3.5.x code on a SG300 or 1.3.7.x on a SG500, you will need to perform a couple of intermediary upgrades before proceeding directly to 1.4.x. The process is essentially the same for SG300 and SG500‘s, but the code version that you can make the switch to 1.3 to 1.4 is slightly different.
For example, on a SG300 switch. You must first perform the upgrade outlined in the above steps to get up to 1.3.5.x, then install the 1.3.5.06 bootloader. When the bootloader is installed and the switch is rebooted there is an upgrade that takes place in flash memory structure that is needed to run the 1.4 versions of code.
To install the bootloader, it’s pretty simple. Just make sure that the sx300_boot-1.3.5.06.rfb file is accessible via TFTP then run these commands on the switch:
During the reboot of the switch, it will upgrade the flash file system.
For more information read the section: Changes in Flash File System located in the Cisco SG300 1.4.8.6 release notes. Just in case this link isn’t working i’ve attached a PDF copy of the release notes to review: R_1_4_8_6_RN


does it matter the order?
boot then image upgrades, or image and then boot?
Yes, it does matter which order you install. Check in the release notes of the firmware (specifically the section called “Changes in the Flash File System”) you can usually only go to a certain revision before a bootloader upgrade is required. For example on a SG300, you first upgrade to 1.3.5.x, then you must install boot code 1.3.5.06 before you can install firmware 1.4.x or higher. Hope this helps!